Descubre un mundo de estilos
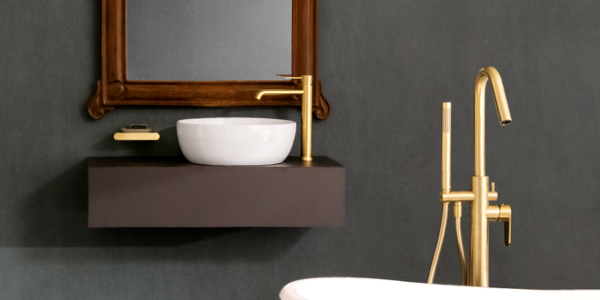


Descubre nuestras griferías para baño y cocina

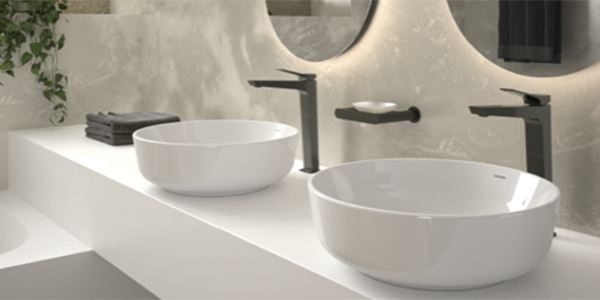
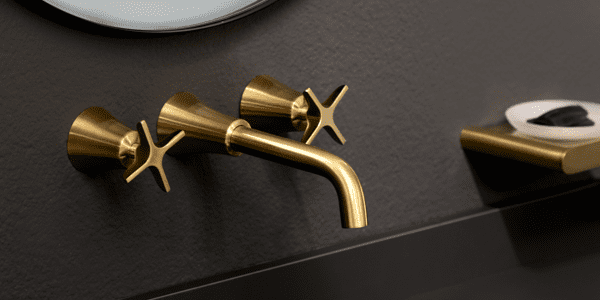
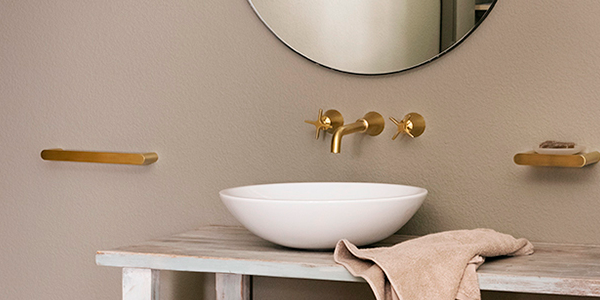
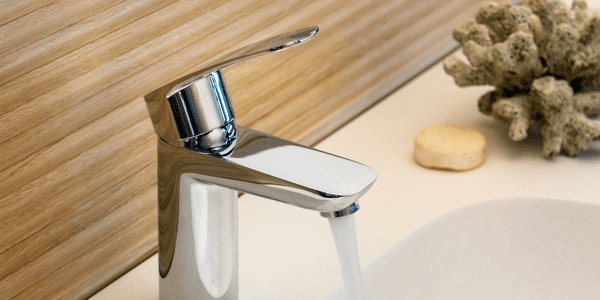
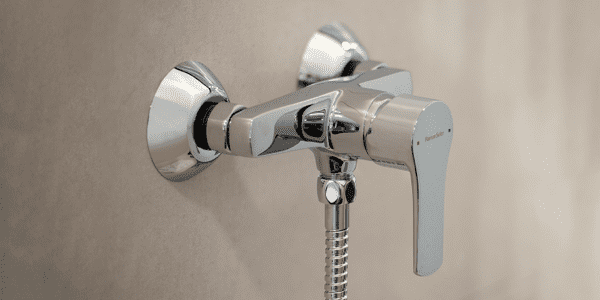
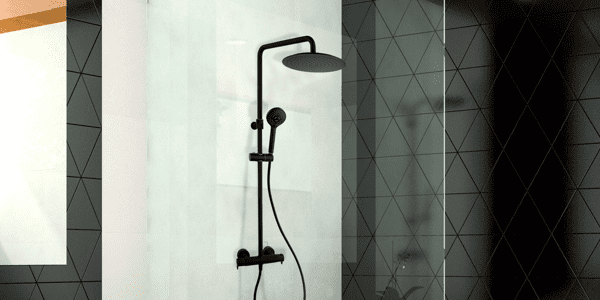
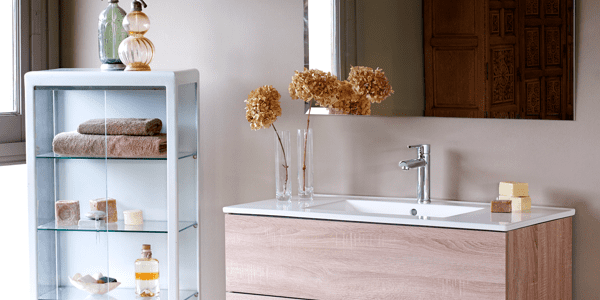
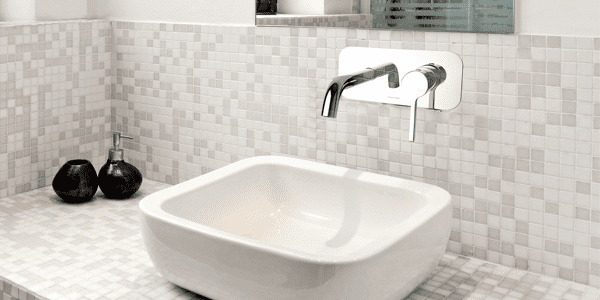
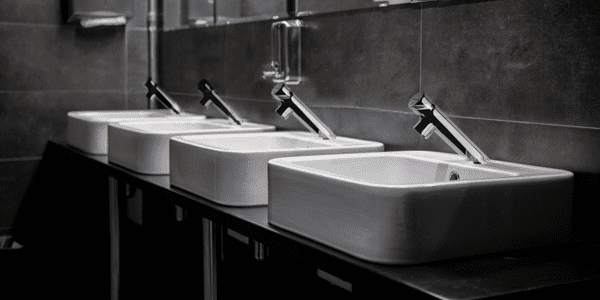
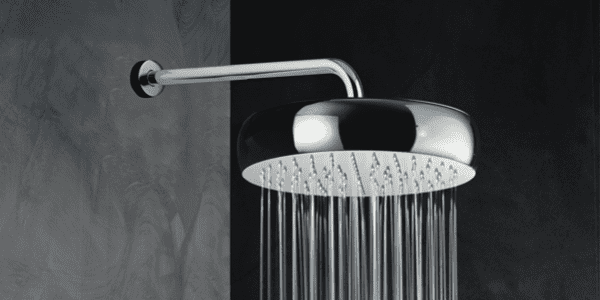
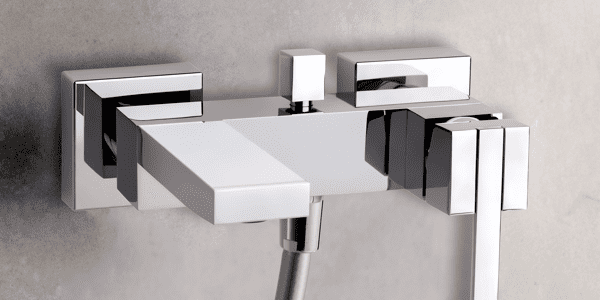
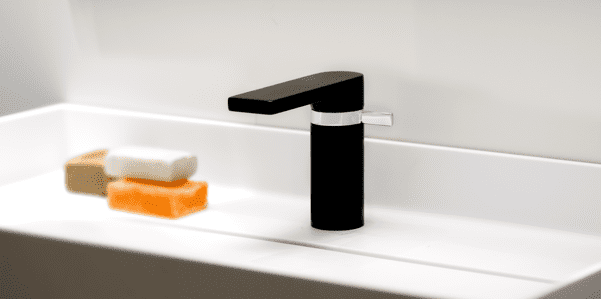
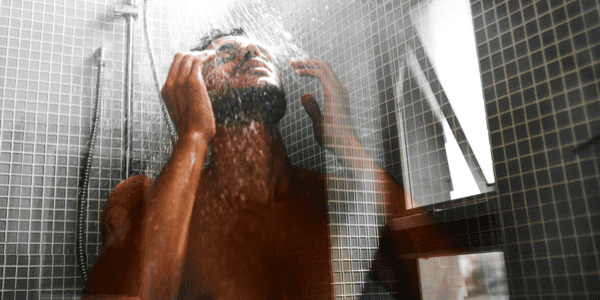
Grifería de baño
Que el baño sea tu momento. Descubre nuestros grifos para baño, lavabo, sistemas de ducha y accesorios de con los que crear estancias únicas y disfrutar del agua.
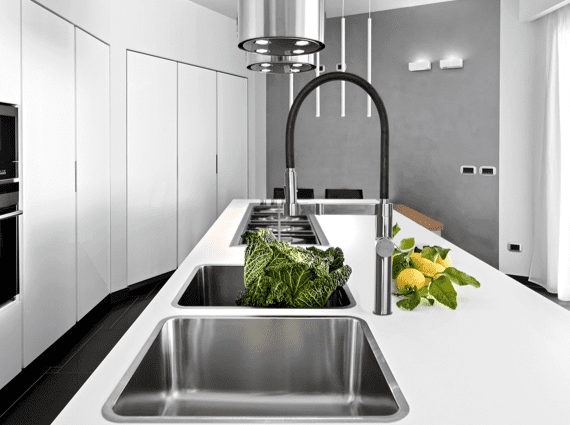
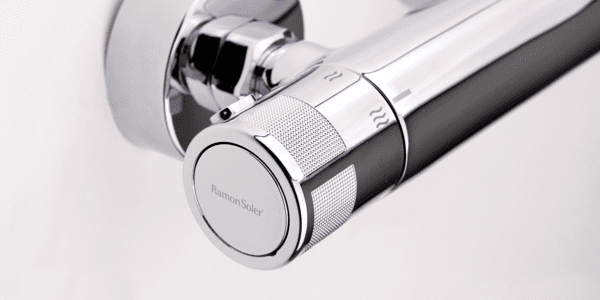
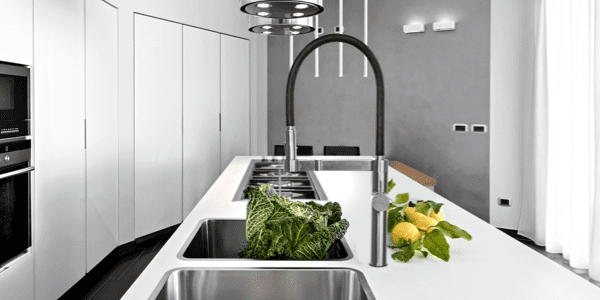
Grifería para cocina
Ama tu cocina. Descubre nuestras griferías para cocina dotadas de un diseño innovador y alta tecnología para una mejor funcionalidad.
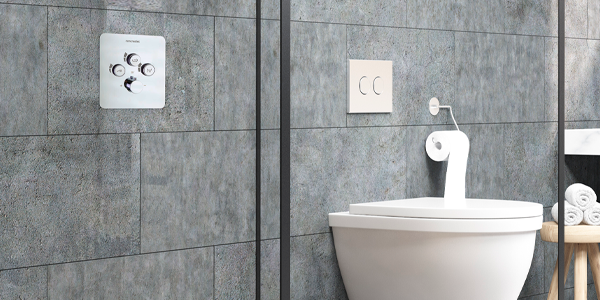
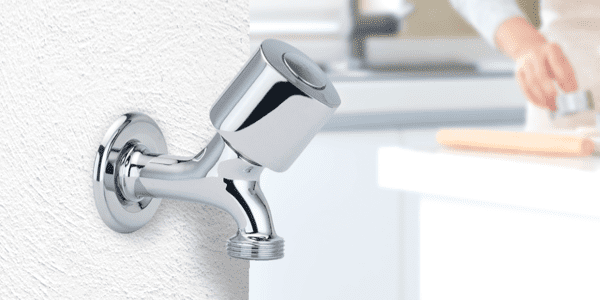
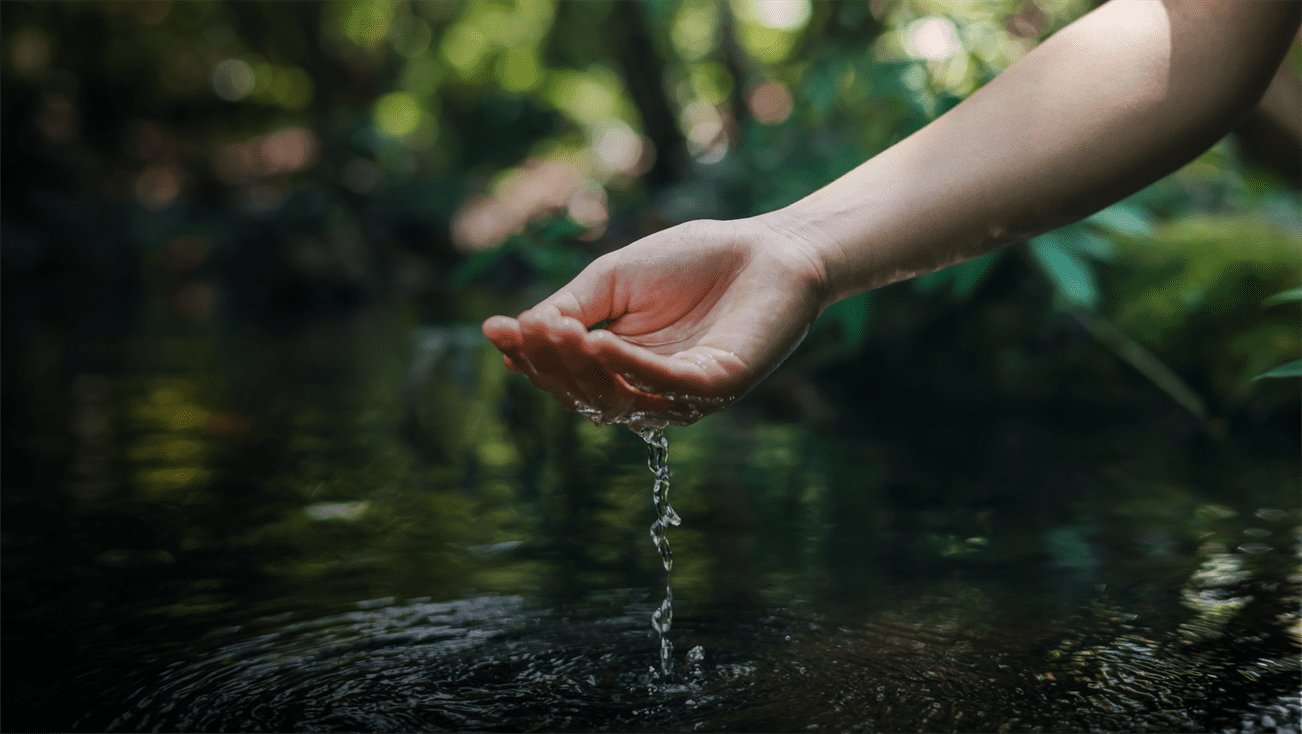
Grifería sostenible
Comprometidos con el ahorro de agua y el medioambiente
Consciencia ecológica
Seguimos criterios ecológicos para producir de forma ecoeficiente, optimizando recursos en cuanto a materiales y energía necesaria en la producción.
Saber másCertificaciones medioambientales
Contamos con certificaciones que avalan a escala mundial que nuestra grifería es respetuosa con el medioambiente, como la BREEAM.
Saber más¿Cuánto puedes reducir en tu consumo de recursos?
Calcula tu ahorro onlineAhorro de agua y energía en tu vivienda
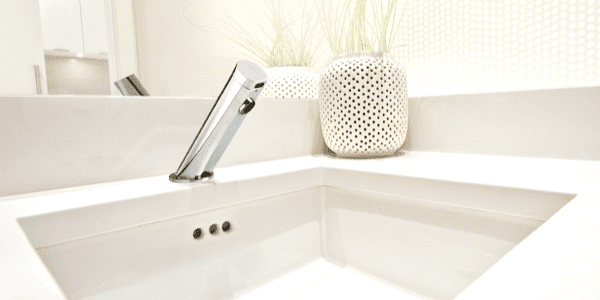
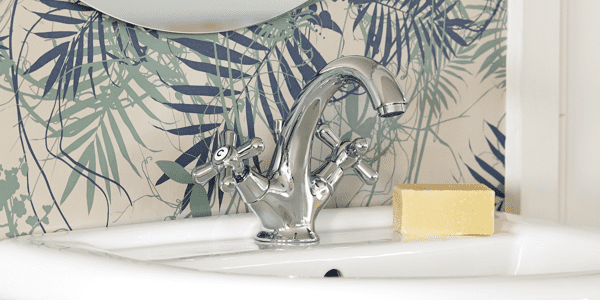
El agua y la mayoría de las fuentes que producen energía son recursos escasos y limitados, su uso responsable y disfrutar de un confort total es posible con nuestras griferías, ya que potenciamos la sostenibilidad en cada diseño. Incorporamos tecnologías que reducen el consumo de los recursos, un beneficio a medio y largo plazo, tanto para el usuario como para el planeta.
¿Cuánto es posible reducir el consumo de recursos en el día a día?
Completa tus datos en la calculadora de ahorro y descubre cuánto ahorrarás en tu vivienda con los sistemas de ahorro de agua y energía S2 y S3 de nuestras griferías.
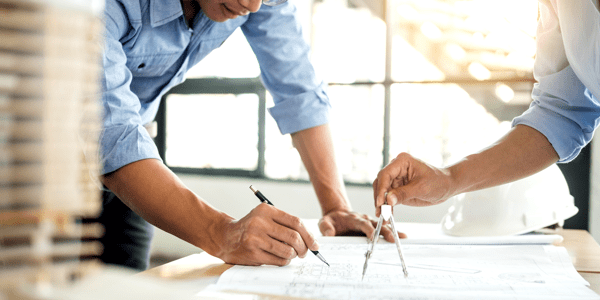
Soluciones para profesionales
Blog sobre tendencias de diseño sostenible
Noticias de actualidad, tendencias de interiorismo, consejos y mucho más
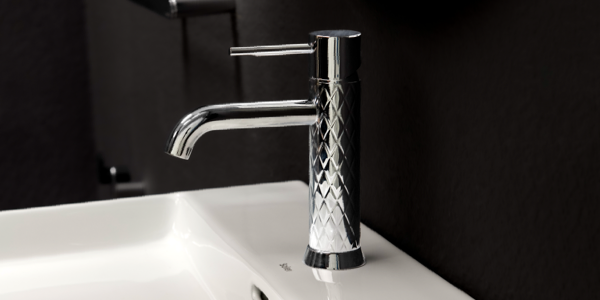
Productos ramonsoler
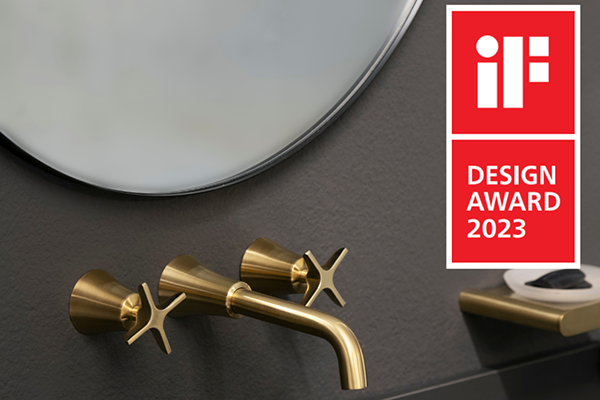
Adagio galardonada con el premio IF Design Award 2023
ramonsoler ha vuelto a recibir un premio por la grifería Adagio, esta vez con el prestigioso Premio iF DESIGN AWARD 2023, reconocido internacionalmente como sello de excelencia en el diseño.
Seguir leyendo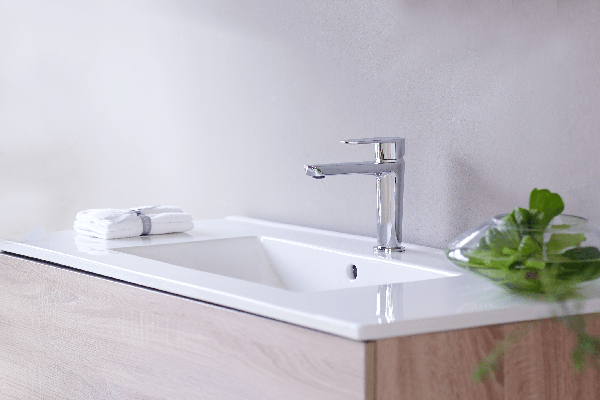
Sostenibilidad
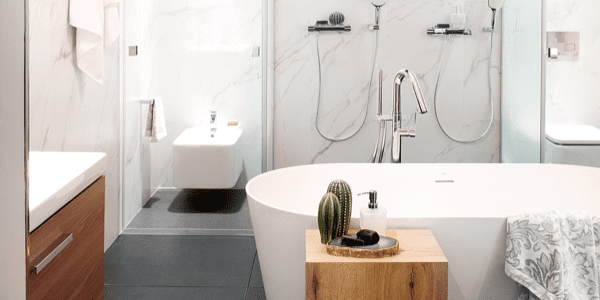
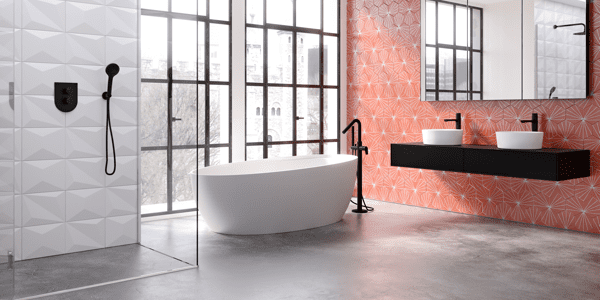
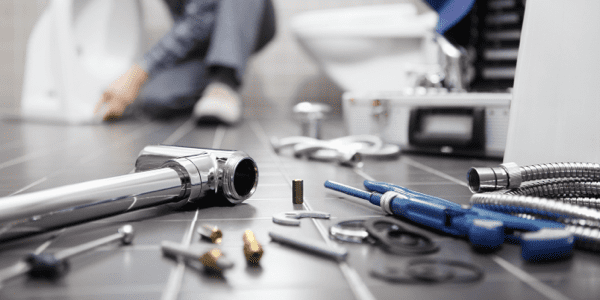
Reforma de un baño sostenible
Tienes un nuevo proyecto entre manos, la reforma de un baño sostenible. Empiezas a pensar, a inspirarte y descubres el potencial de las nuevas tendencias en materiales y procesos ecológicos. Es posible que te estés preguntando: ¿por dónde empiezo?
Seguir leyendo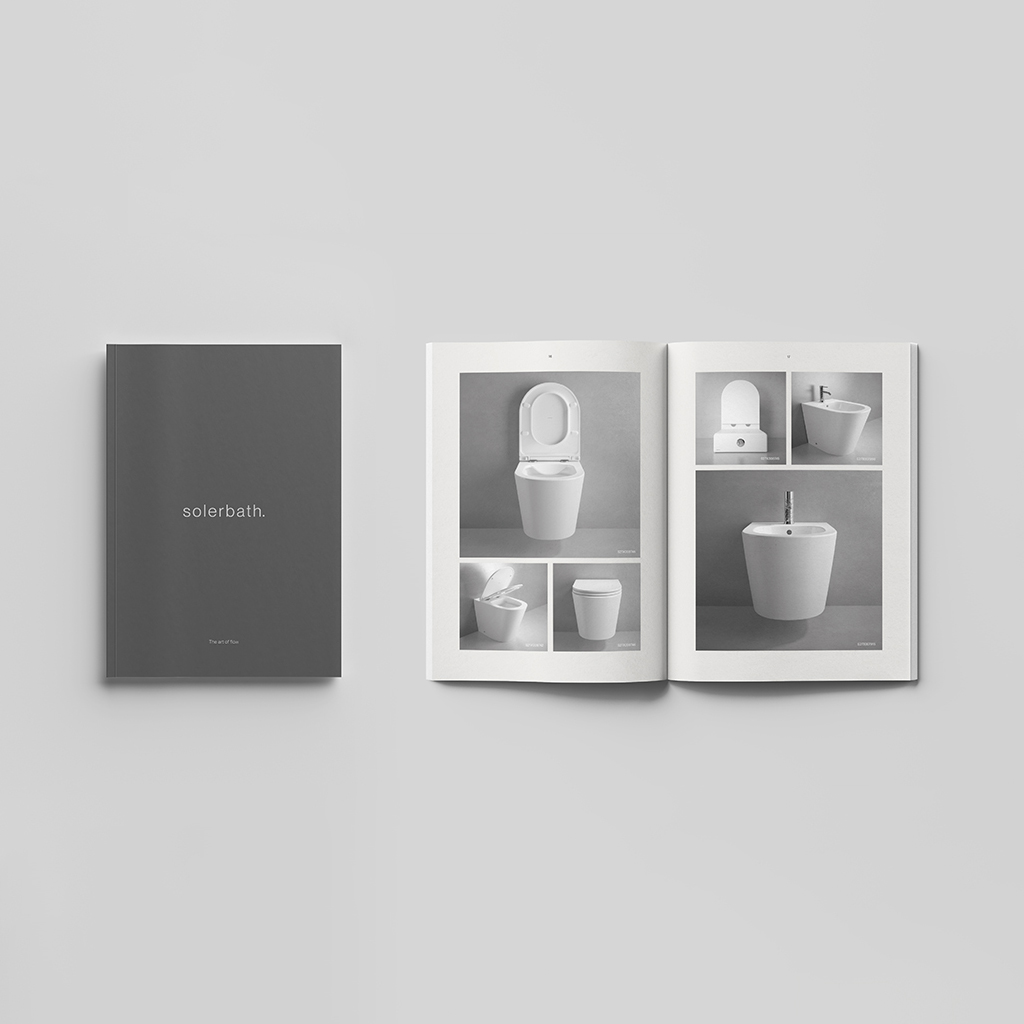
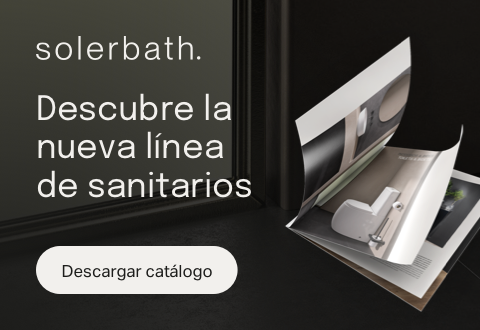
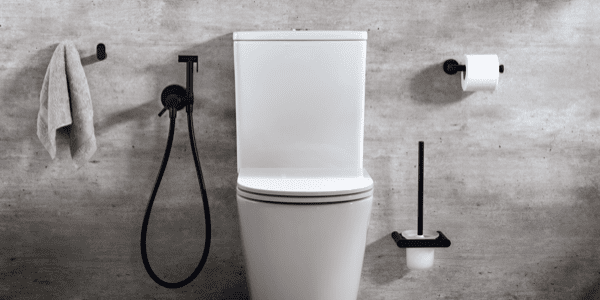
Presentamos solerbath: nueva firma de sanitarios y lavabos
Te presentamos nuestro catálogo de sanitarios y lavabos, la firma pensada para completar tu baño y convertirlo en la zona más amada de tu hogar.
Seguir leyendo